How to use the Cylex Bulk Upload?
For any issues, contact us at [email protected].

Step 1: Access the Cylex Bulk Upload Application
Visit the Cylex Bulk Upload page at https://www.cylex.co.nz/bulk-upload.
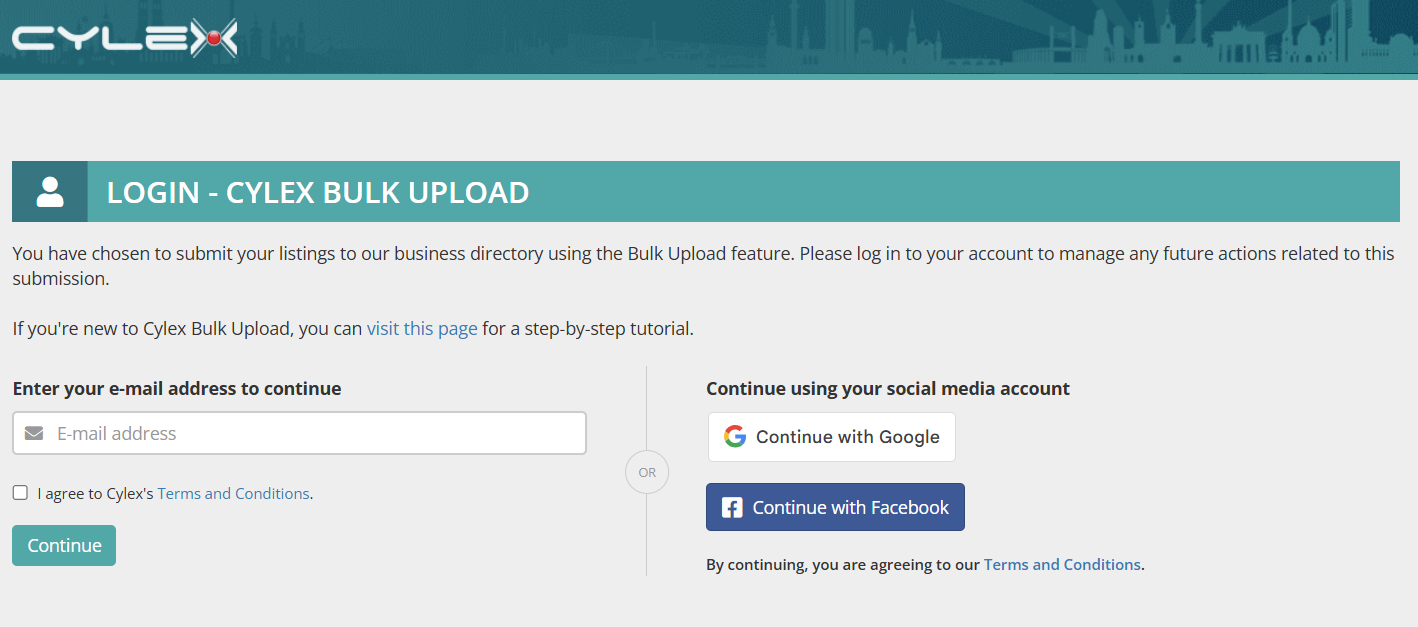
Step 2: Sign in or Create an account
If you don’t have an account, create one to manage your listings.
You can:
- Sign up with your email (a verification passcode will be sent).
- Log in with Google or Facebook for a faster process.
Step 3: Download and complete the sample file
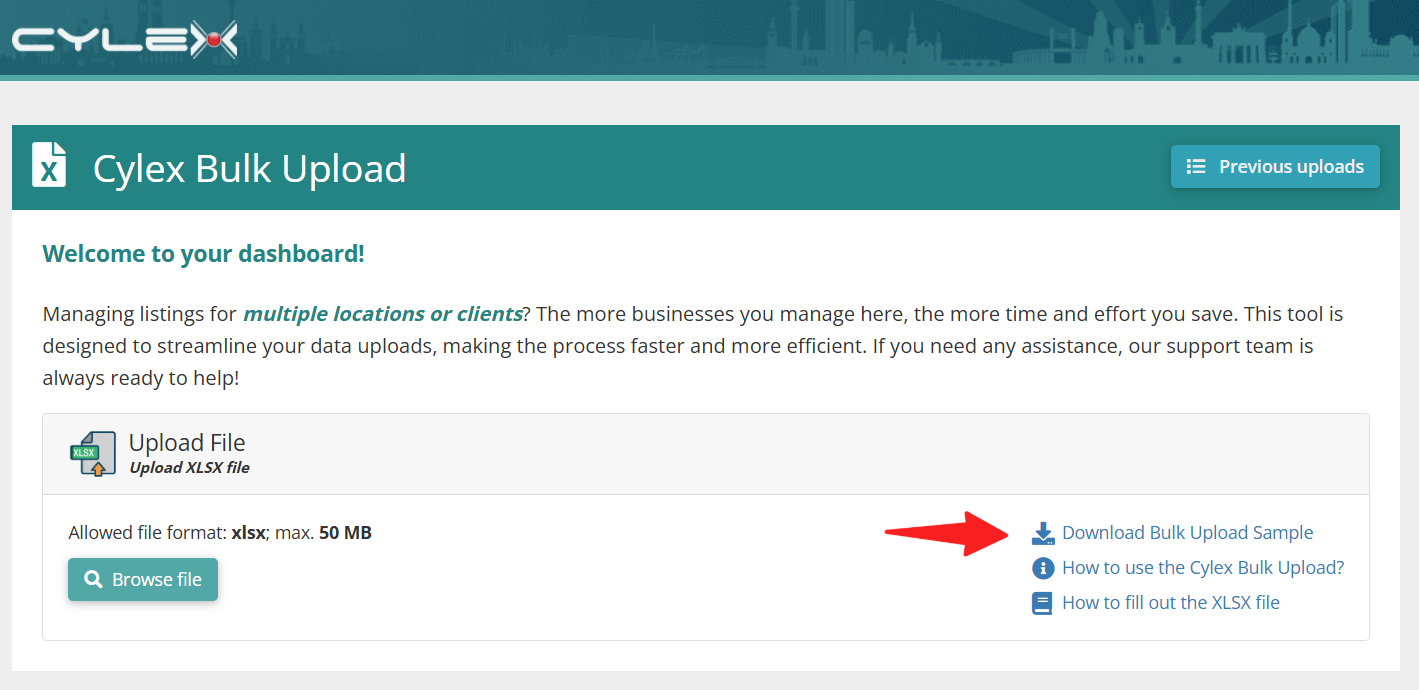
After logging in, download the Bulk Upload Sample XLSX file.
- Read the guidelines carefully.
- Add your listings to the "Listings" sheet to register, update, or mark businesses as closed.
- Delete the example entries before entering your data.
The downloaded XLSX file’s Listings sheet now looks like this picture:

Step 4: Upload your completed file
In the Cylex Bulk Upload application:
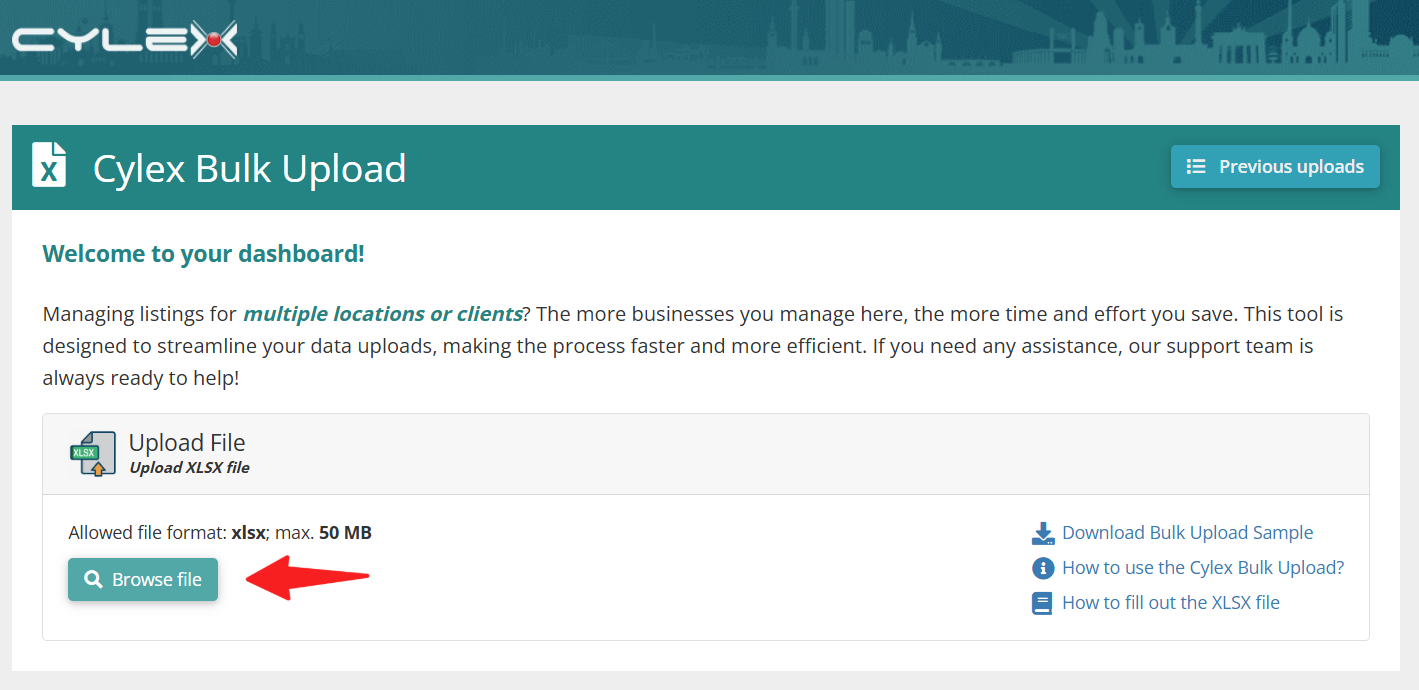
- Click Browse File to select your XLSX file.
- Press Upload File to start the process.
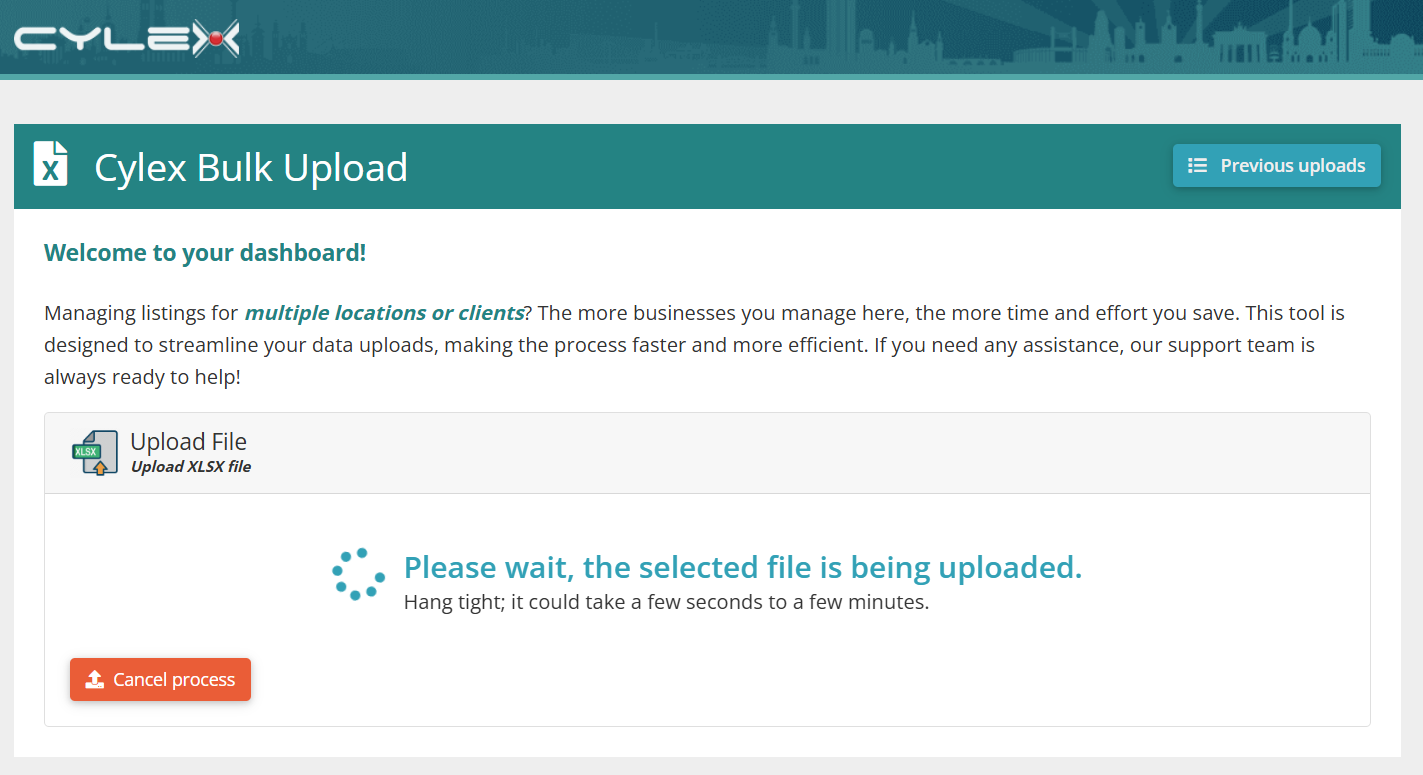
We will then verify if the file is correctly filled out.
Step 5: Select the correct worksheet
If you use our sample XLSX file, the "Listings" worksheet will be selected automatically.

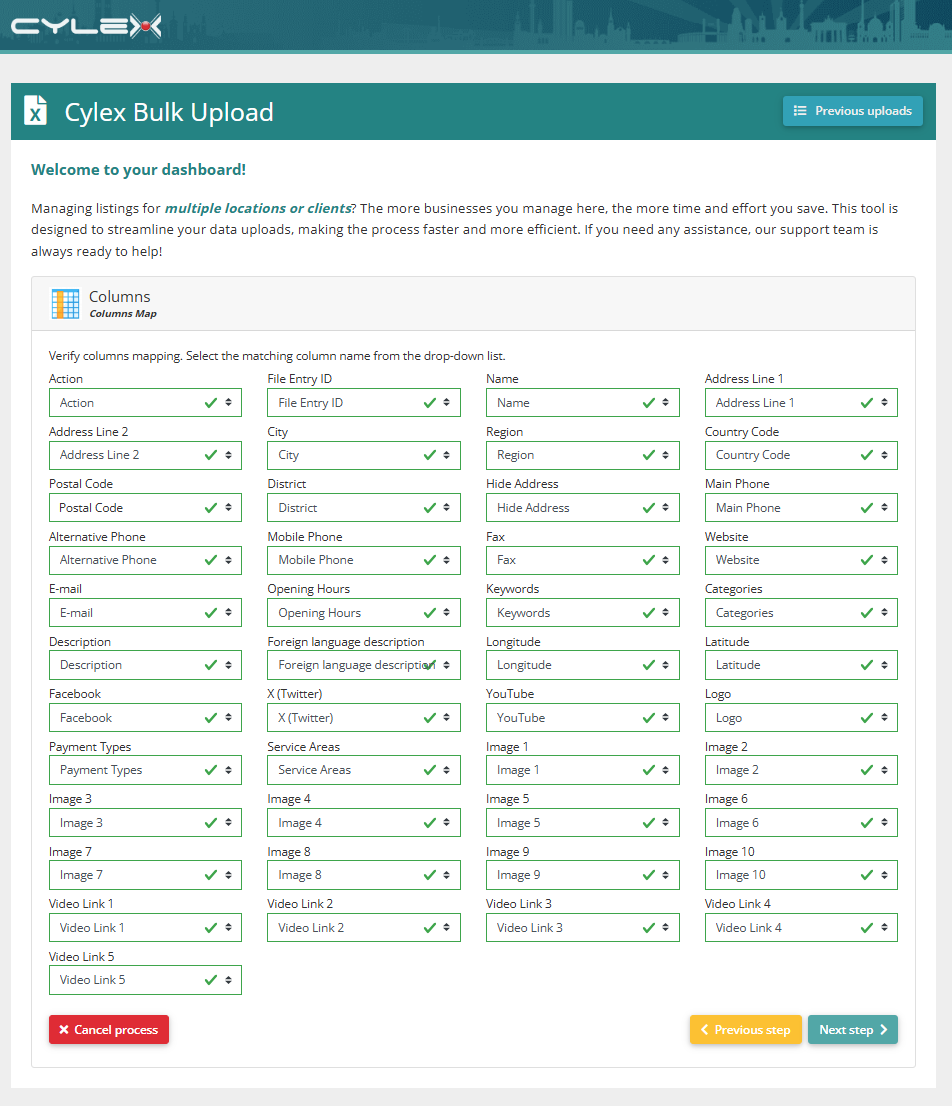
Step 6: Verify Column Mapping
- Select the column names from the dropdown list to match our required columns.
- If you use our sample file, this step will be completed automatically.
- Click Next Step to continue.
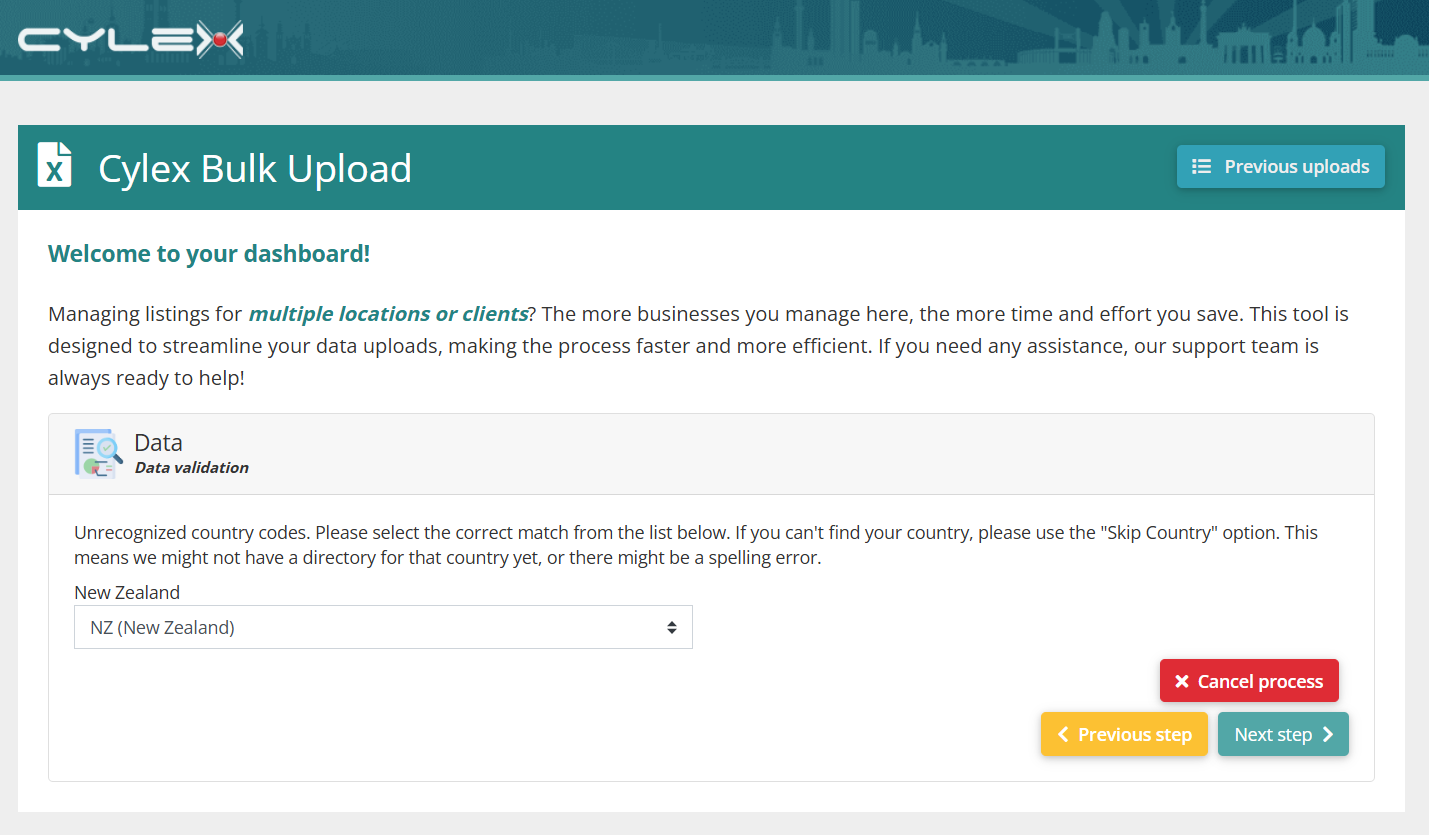
Step 7: Select the correct country code
This is optional and appears only if the country code is unrecognized.
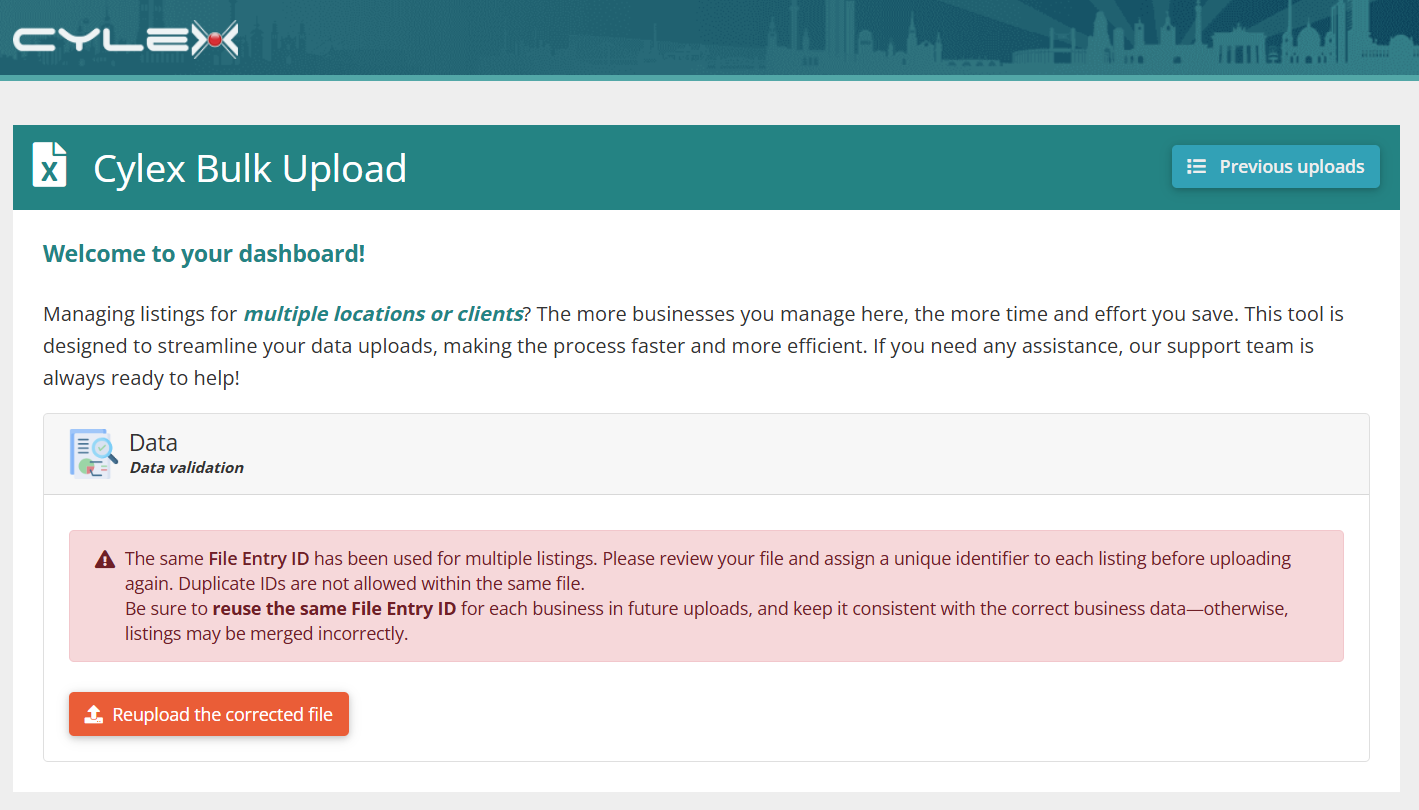
Step 8: Validate your entries
This step is optional If no issues are found, you will proceed automatically.
If errors are detected:
- Review our suggestions for the problematic fields.
- Fix errors in your XLSX file and re-upload it from Step 4.
If warnings are found, you can:
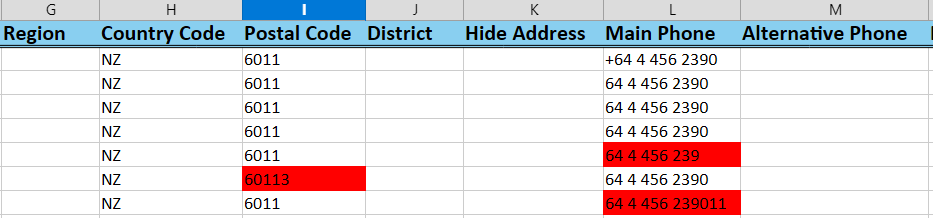
- Download the report file, where problematic fields are highlighted.
- Correct issues manually in the application.
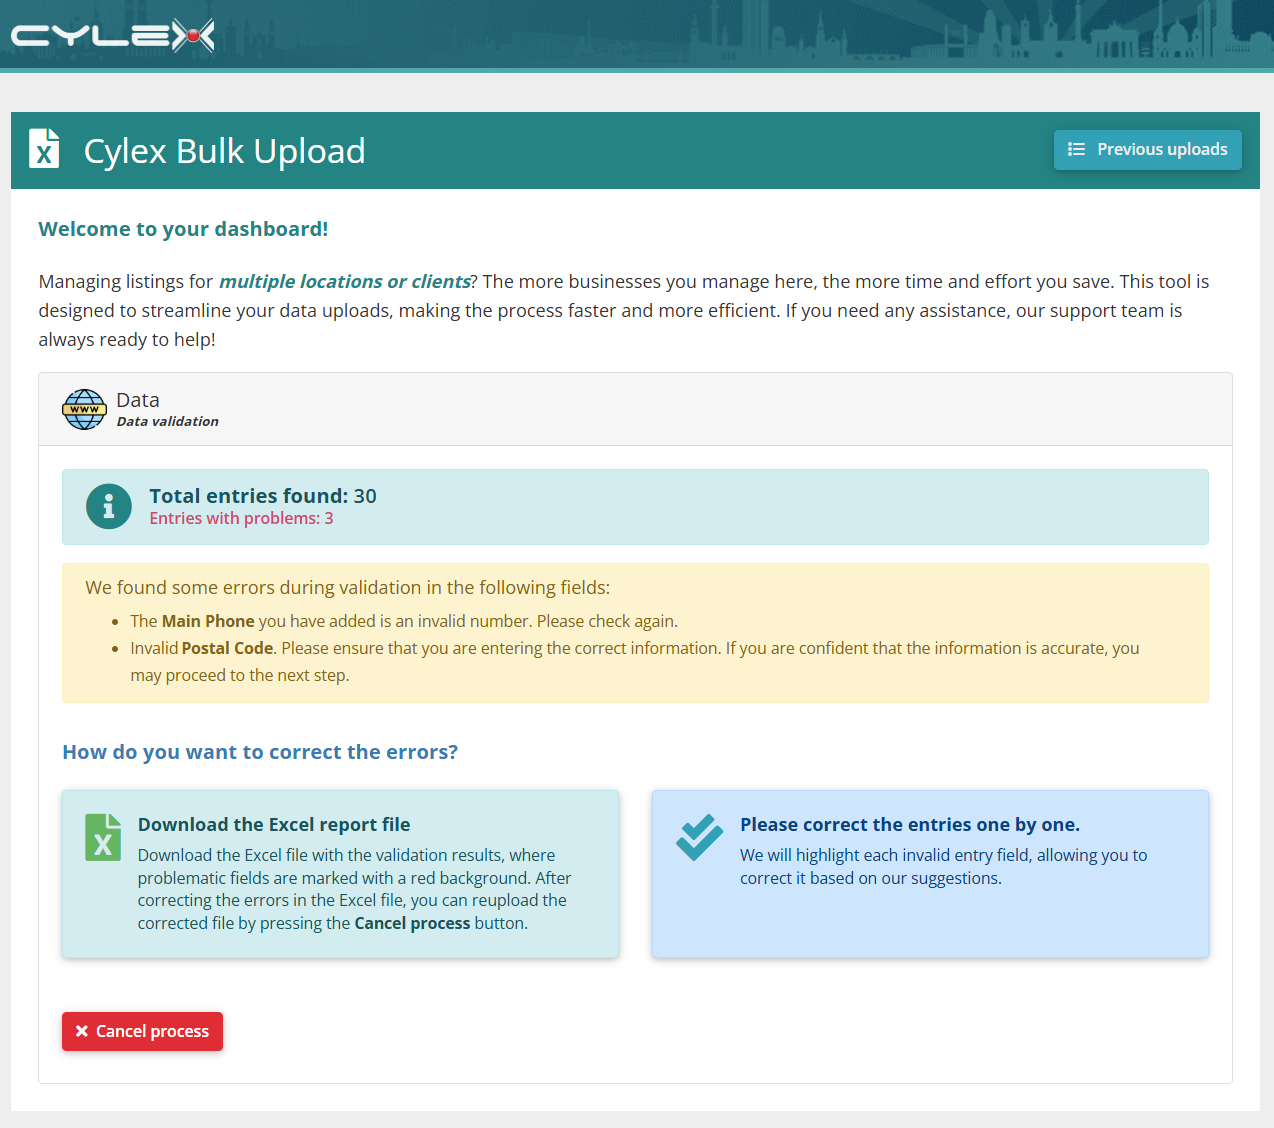
How to address these issues
You have two options to correct errors:
-
Download the report file
- Problematic fields are highlighted in red
- Correct the errors based on our suggestions.
- Once fixed, press Cancel Process and re-upload your corrected XLSX file from Step 4.

-
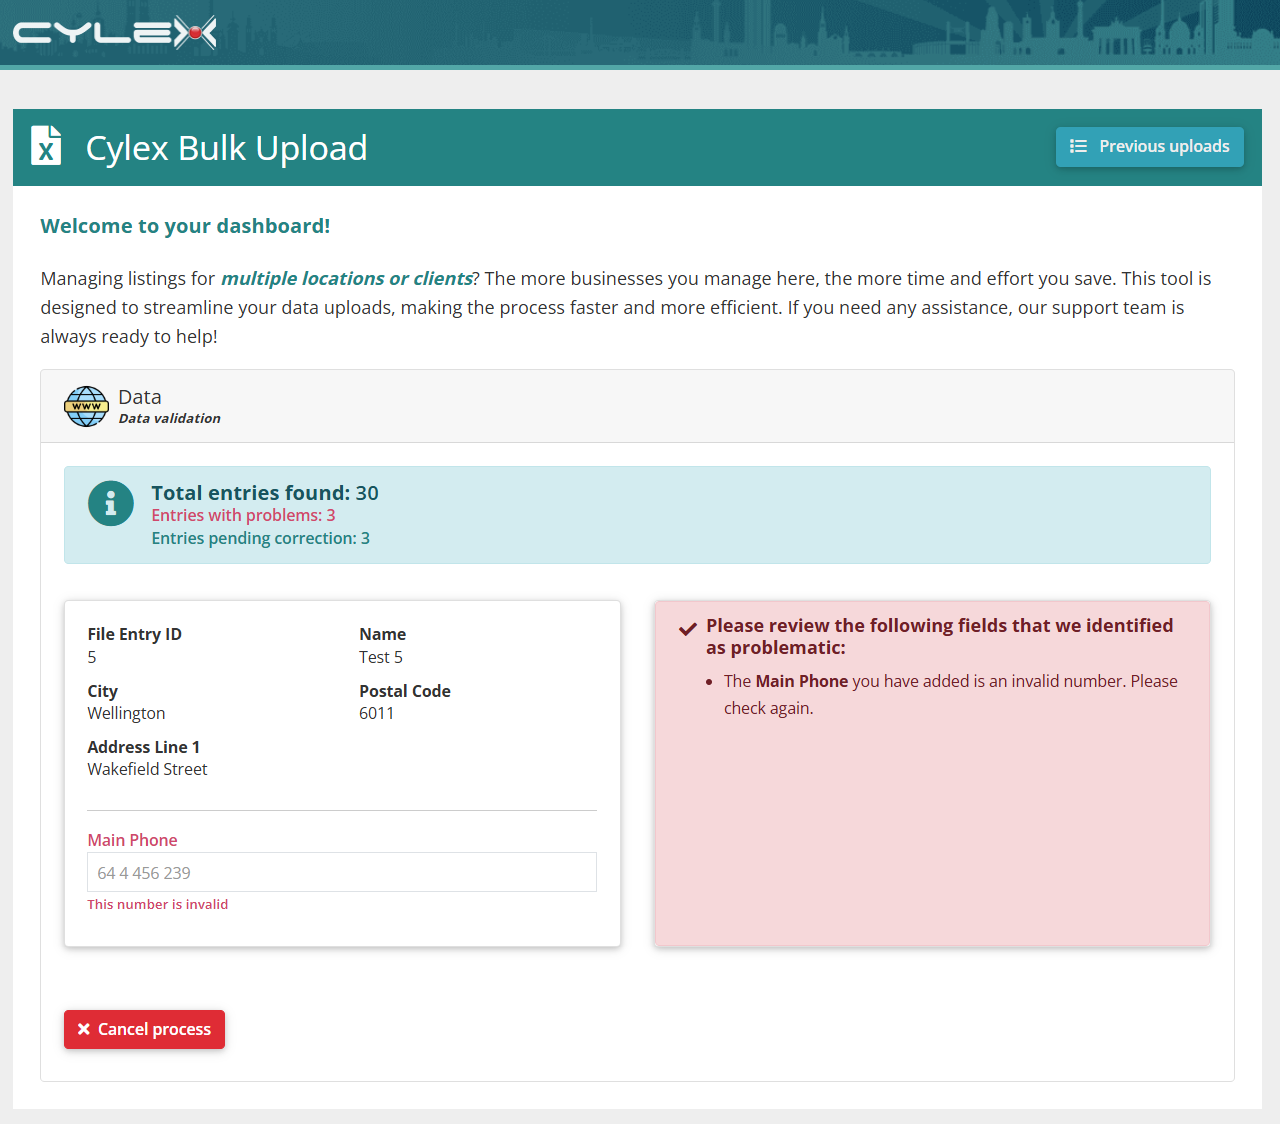
Fix errors one by one
- If only a few errors exist, correct them directly in the application.
- We will display each problematic entry with suggestions.
- As fields are corrected, irrelevant suggestions will be hidden.
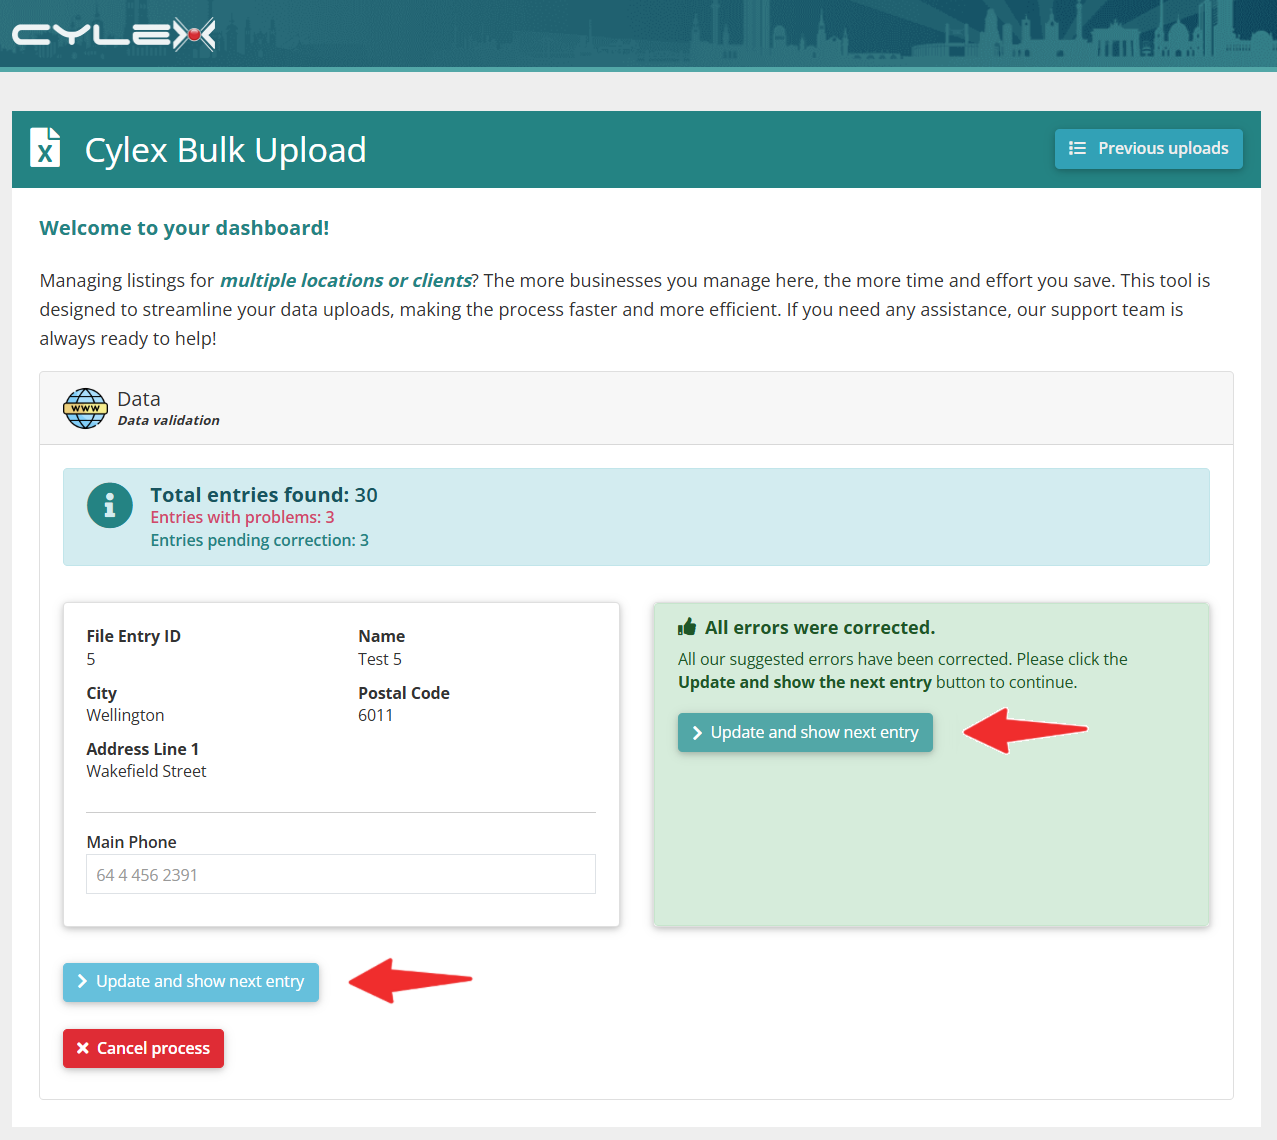
After all errors are resolved:
- Click Update and show next entry to continue.
- If no more issues are found, the system will revalidate your file and proceed to the next step.
Step 9: Confirm and process your entries
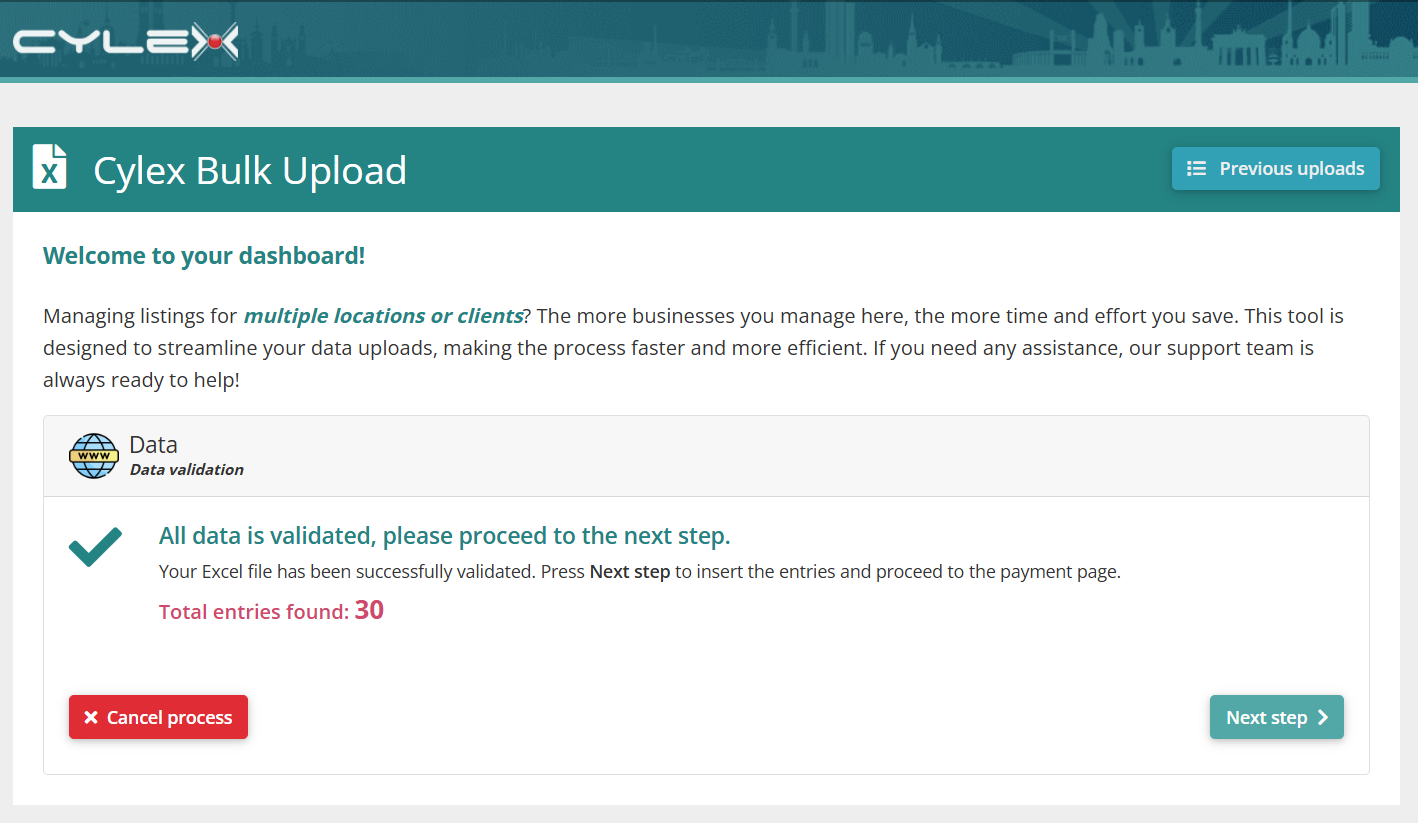
- Review the total number of entries before proceeding.
- Click Next Step to start processing.
- Your data will be automatically updated on the live site.
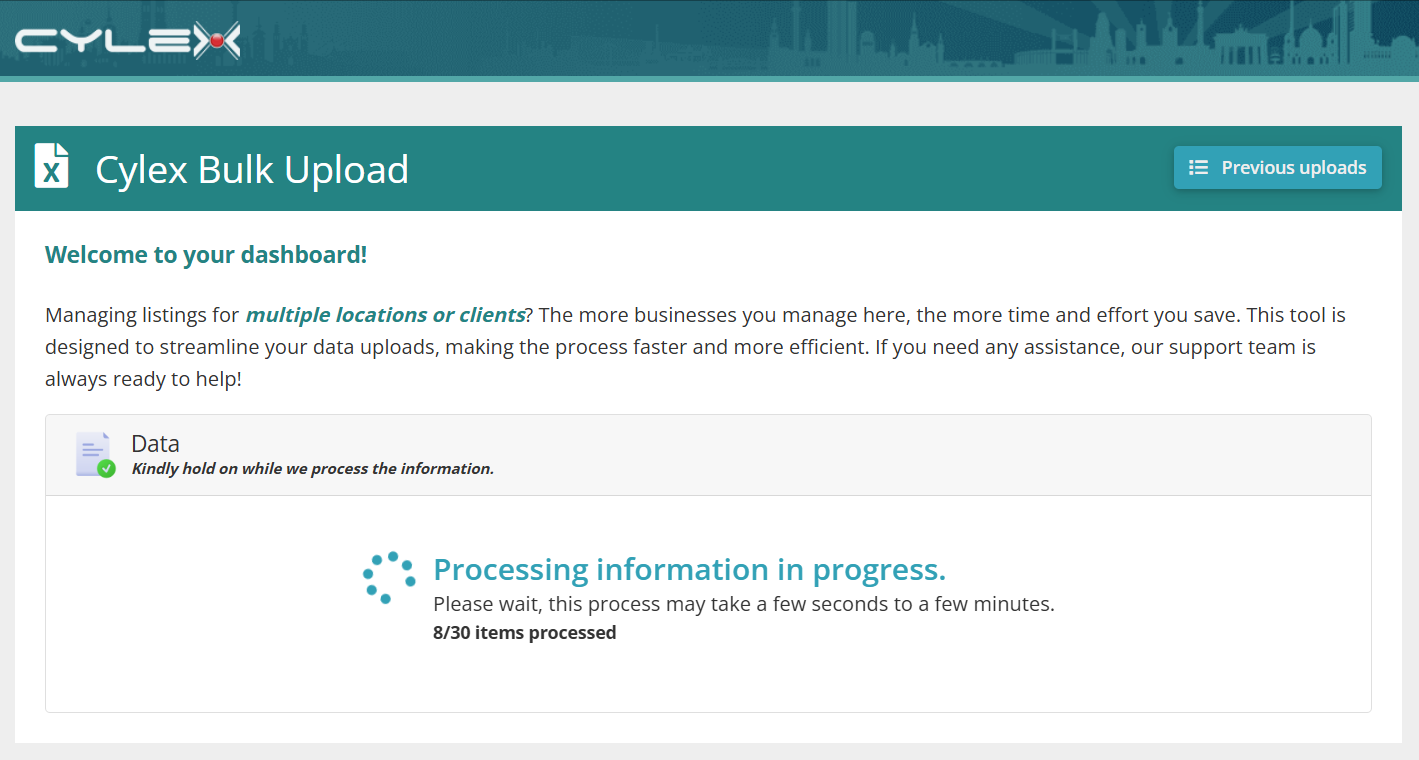
Processing time varies based on the number of entries and may take a few seconds to a few minutes. A progress count will be displayed during the process.
Step 10: Review the upload summary
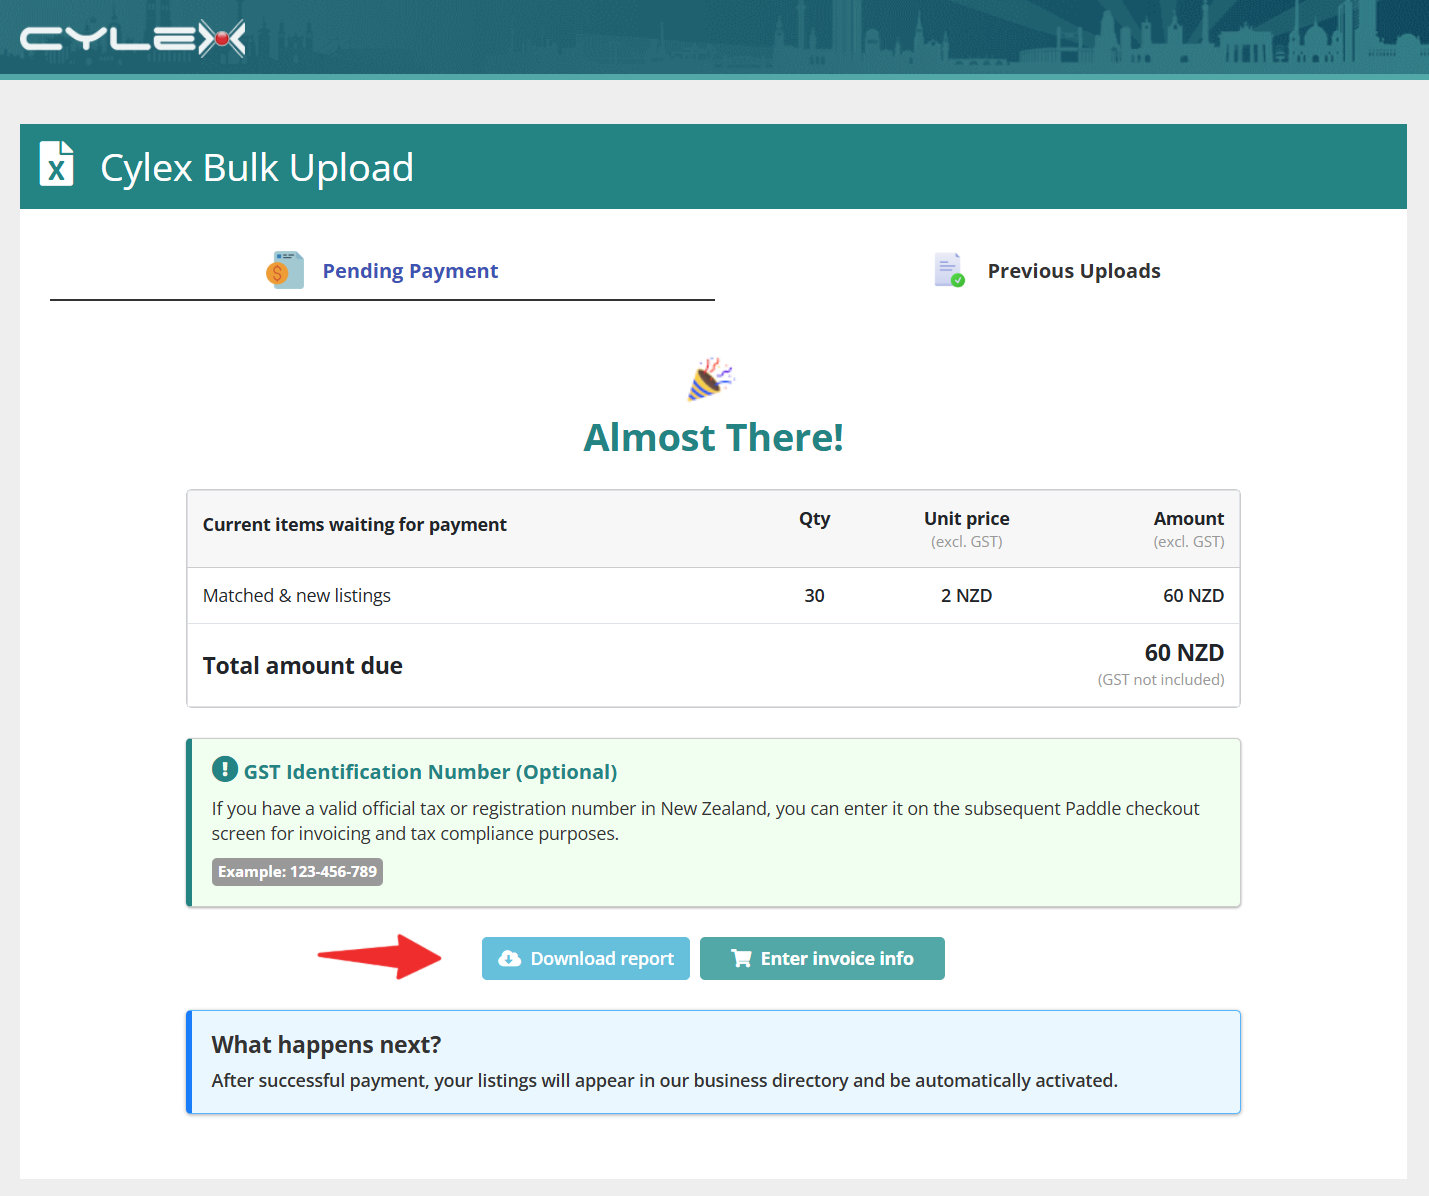
Once the update is complete:
- Download the report file to verify your data.
- Double-check that all entries were processed correctly.
Step 11: Provide invoice details
Once you've confirmed that all information is correct:
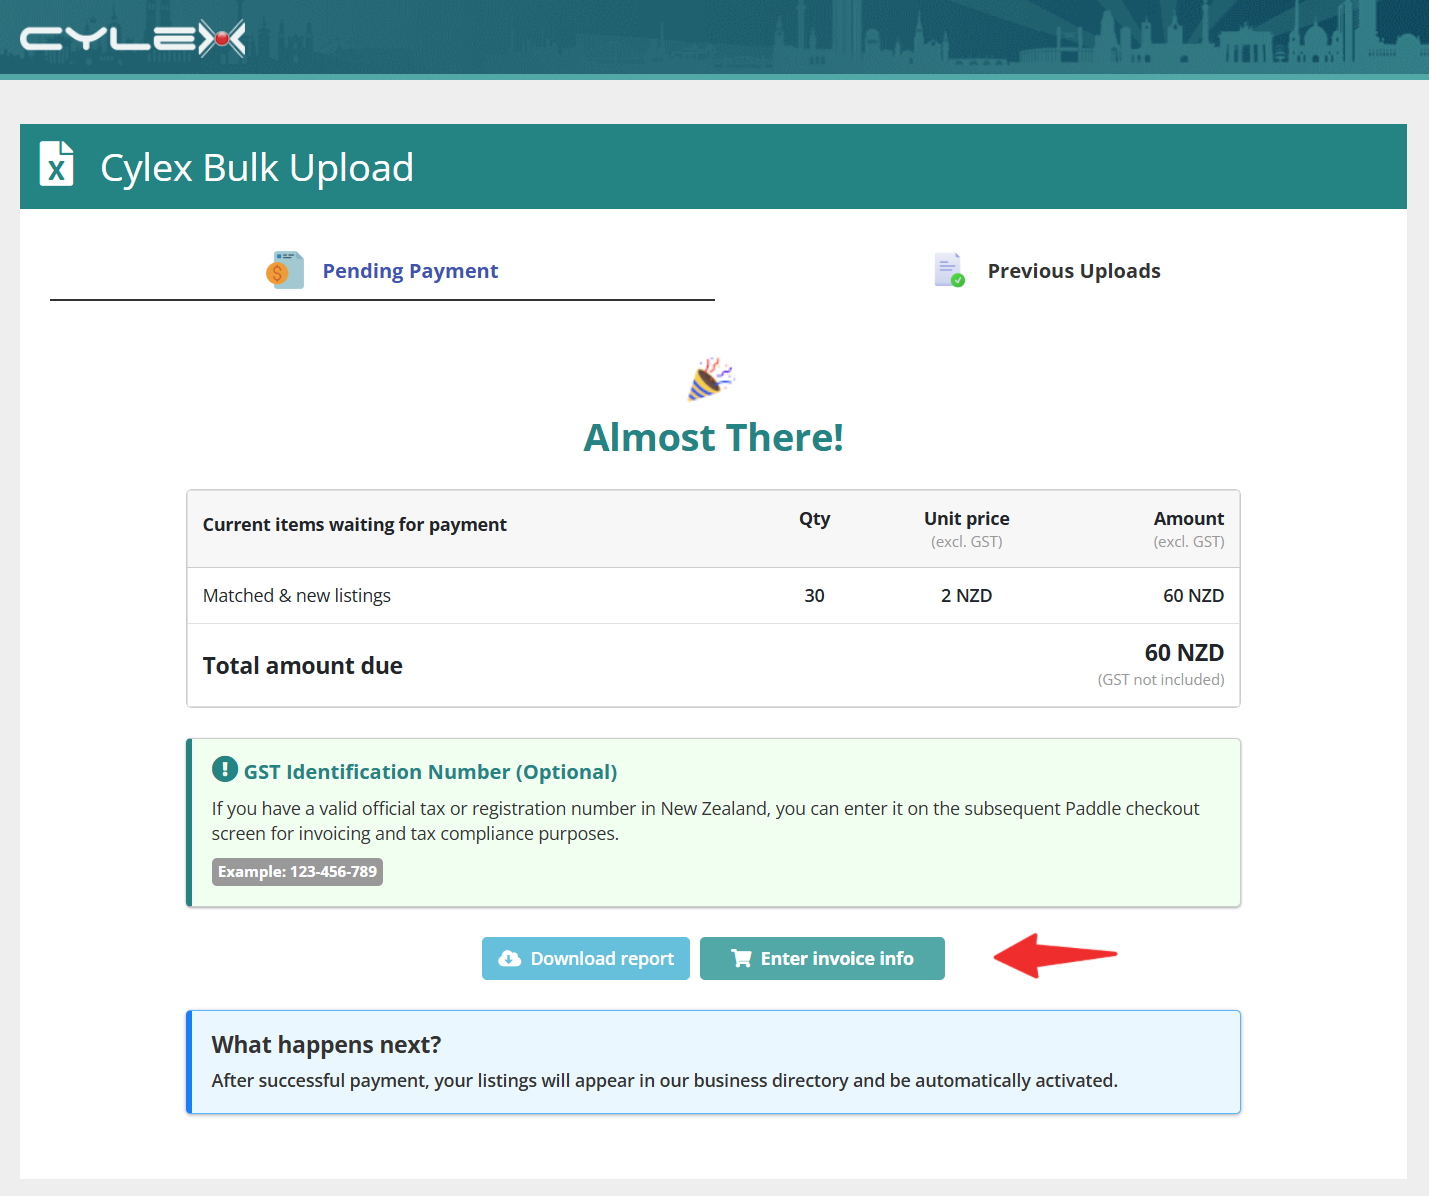
- Click "Enter Invoice Info" to continue.
- Fill out the form with your invoice details to ensure accurate billing.
- When the form is complete, click "Send Details" to proceed to the checkout page.
If you have any questions or run into issues, feel free to contact us at [email protected].